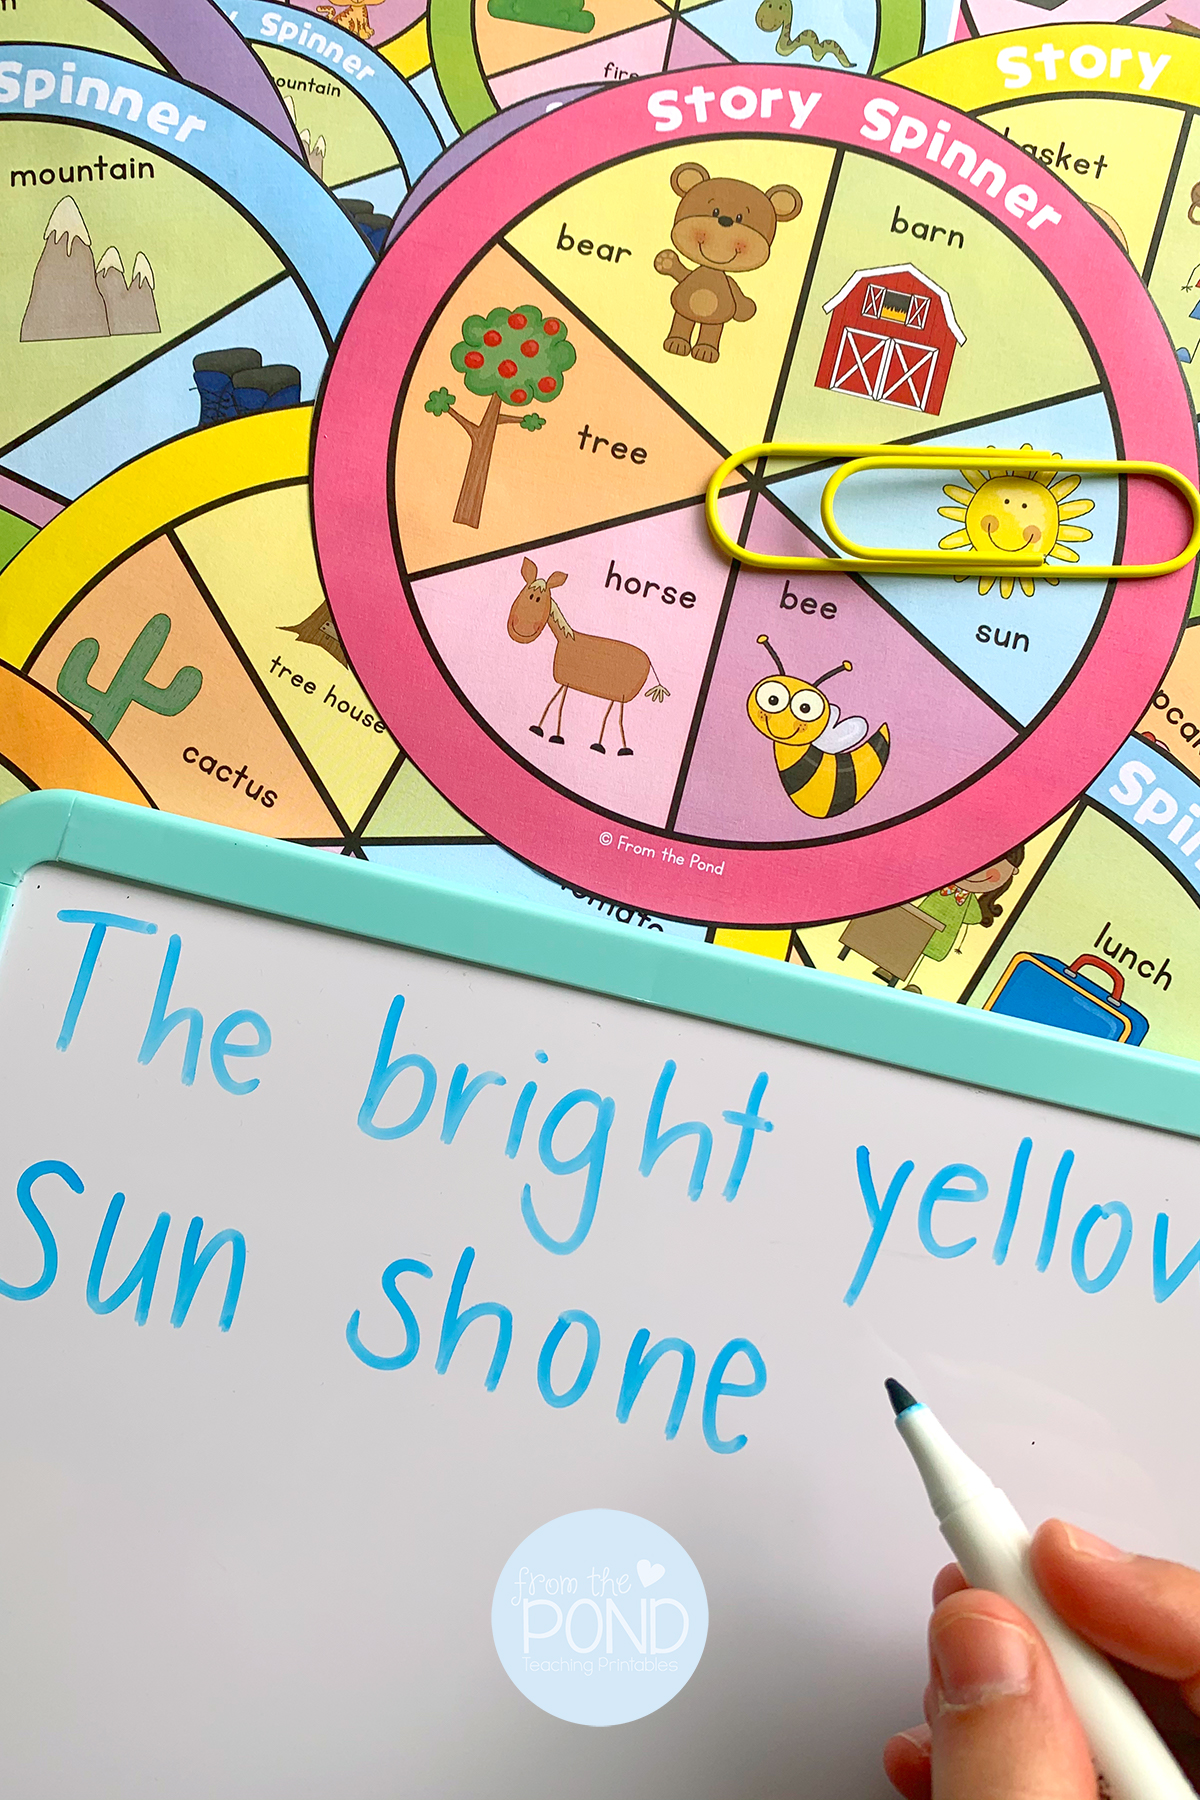
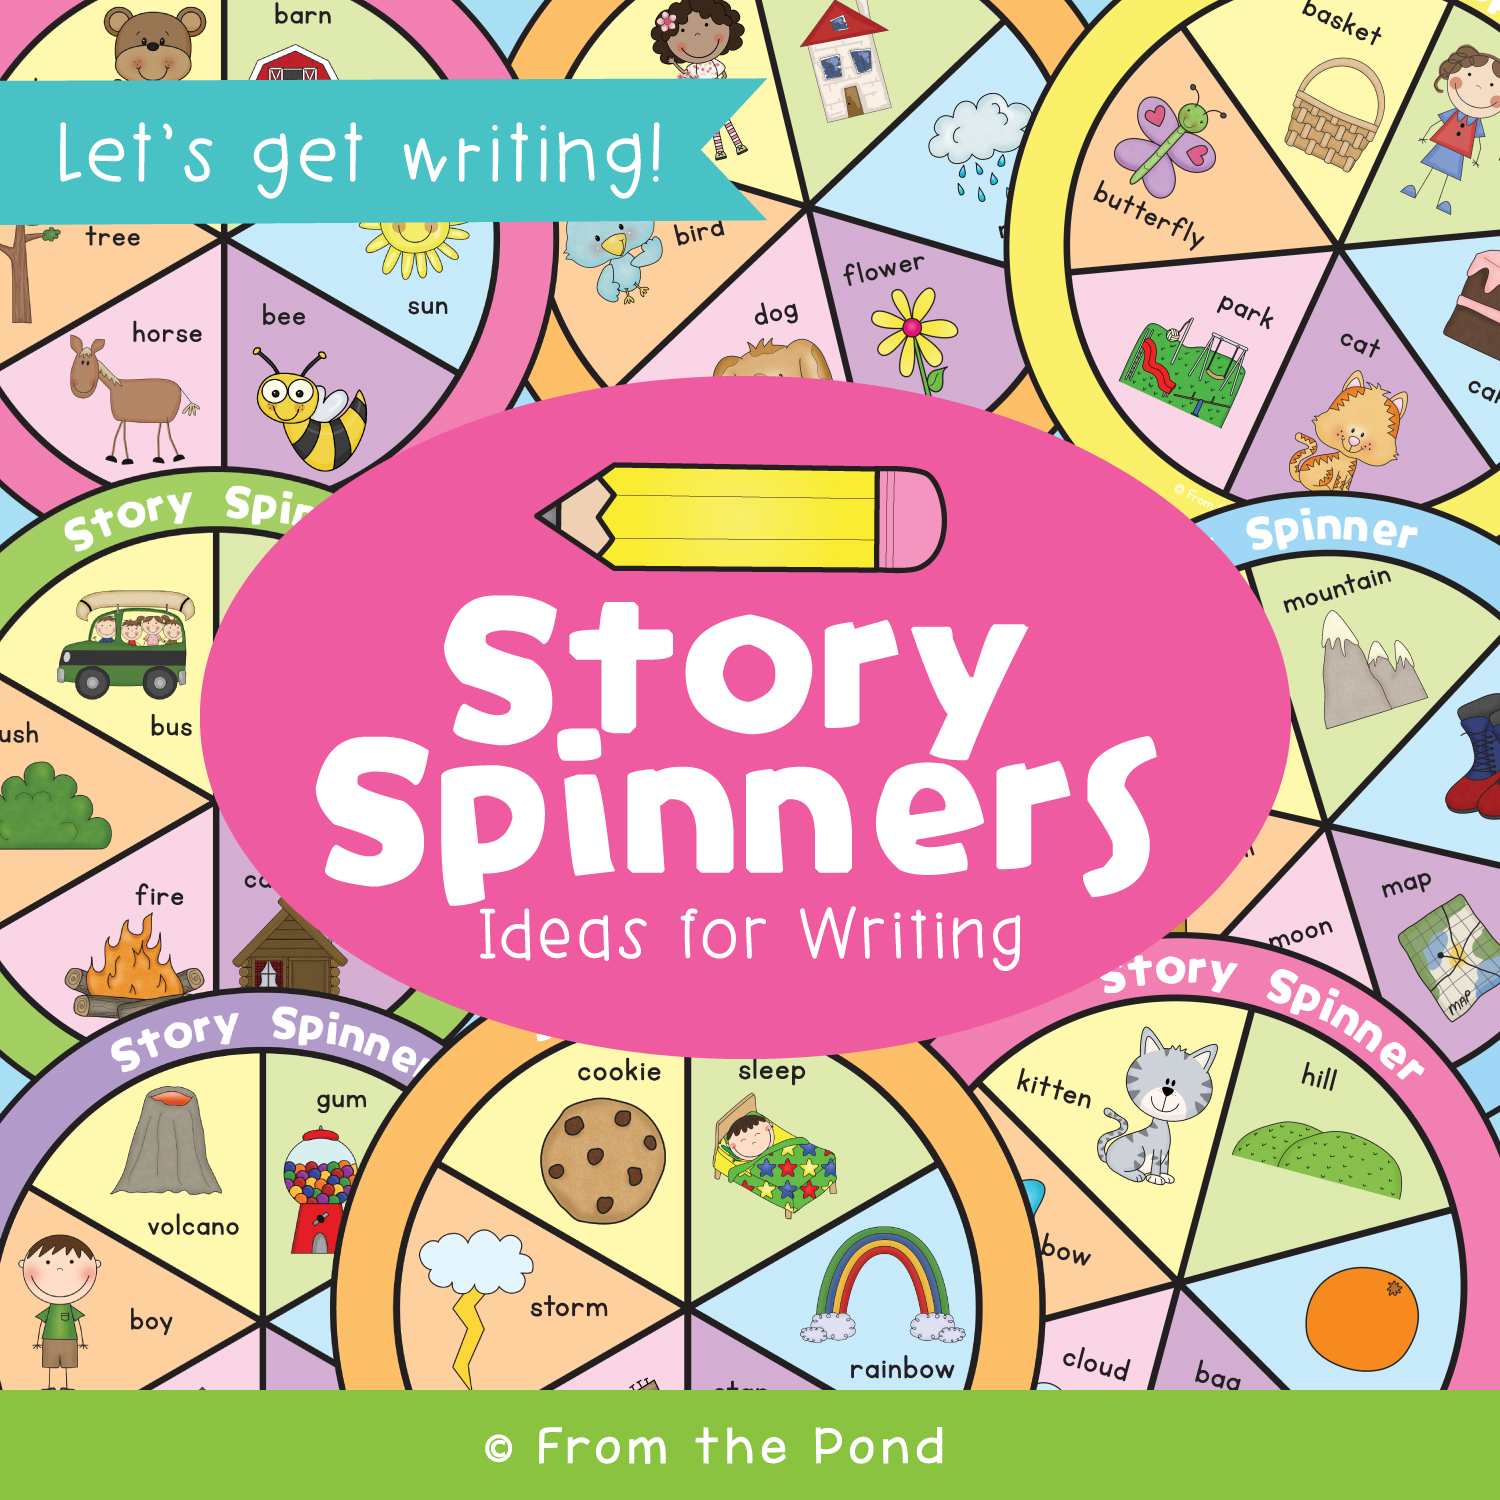
Our new Story Spinners can give you some structured support. We first introduced you to this concept back on an older blog post.
How to use them
- Remind students: Let's make up a story as a class. We can tell it with words. When we are sharing ideas we need to listen to one another and take our turn to talk.
- Tell your students they will use the spinner to help tell a story, the spinner will give them an idea for what the next part of the story could include.
- As the teacher, spin the prepared spinner.
- Begin the story for your students with the picture it lands on e.g. The brown horse was walking down to the pond.
- Now choose a student to spin next.
- The student spins and adds the next part of the story. You may need to revisit the story so far. The sun was very hot and so the horse was very thirsty.
- Repeat this process with new students until all elements are included in the story.
Writing
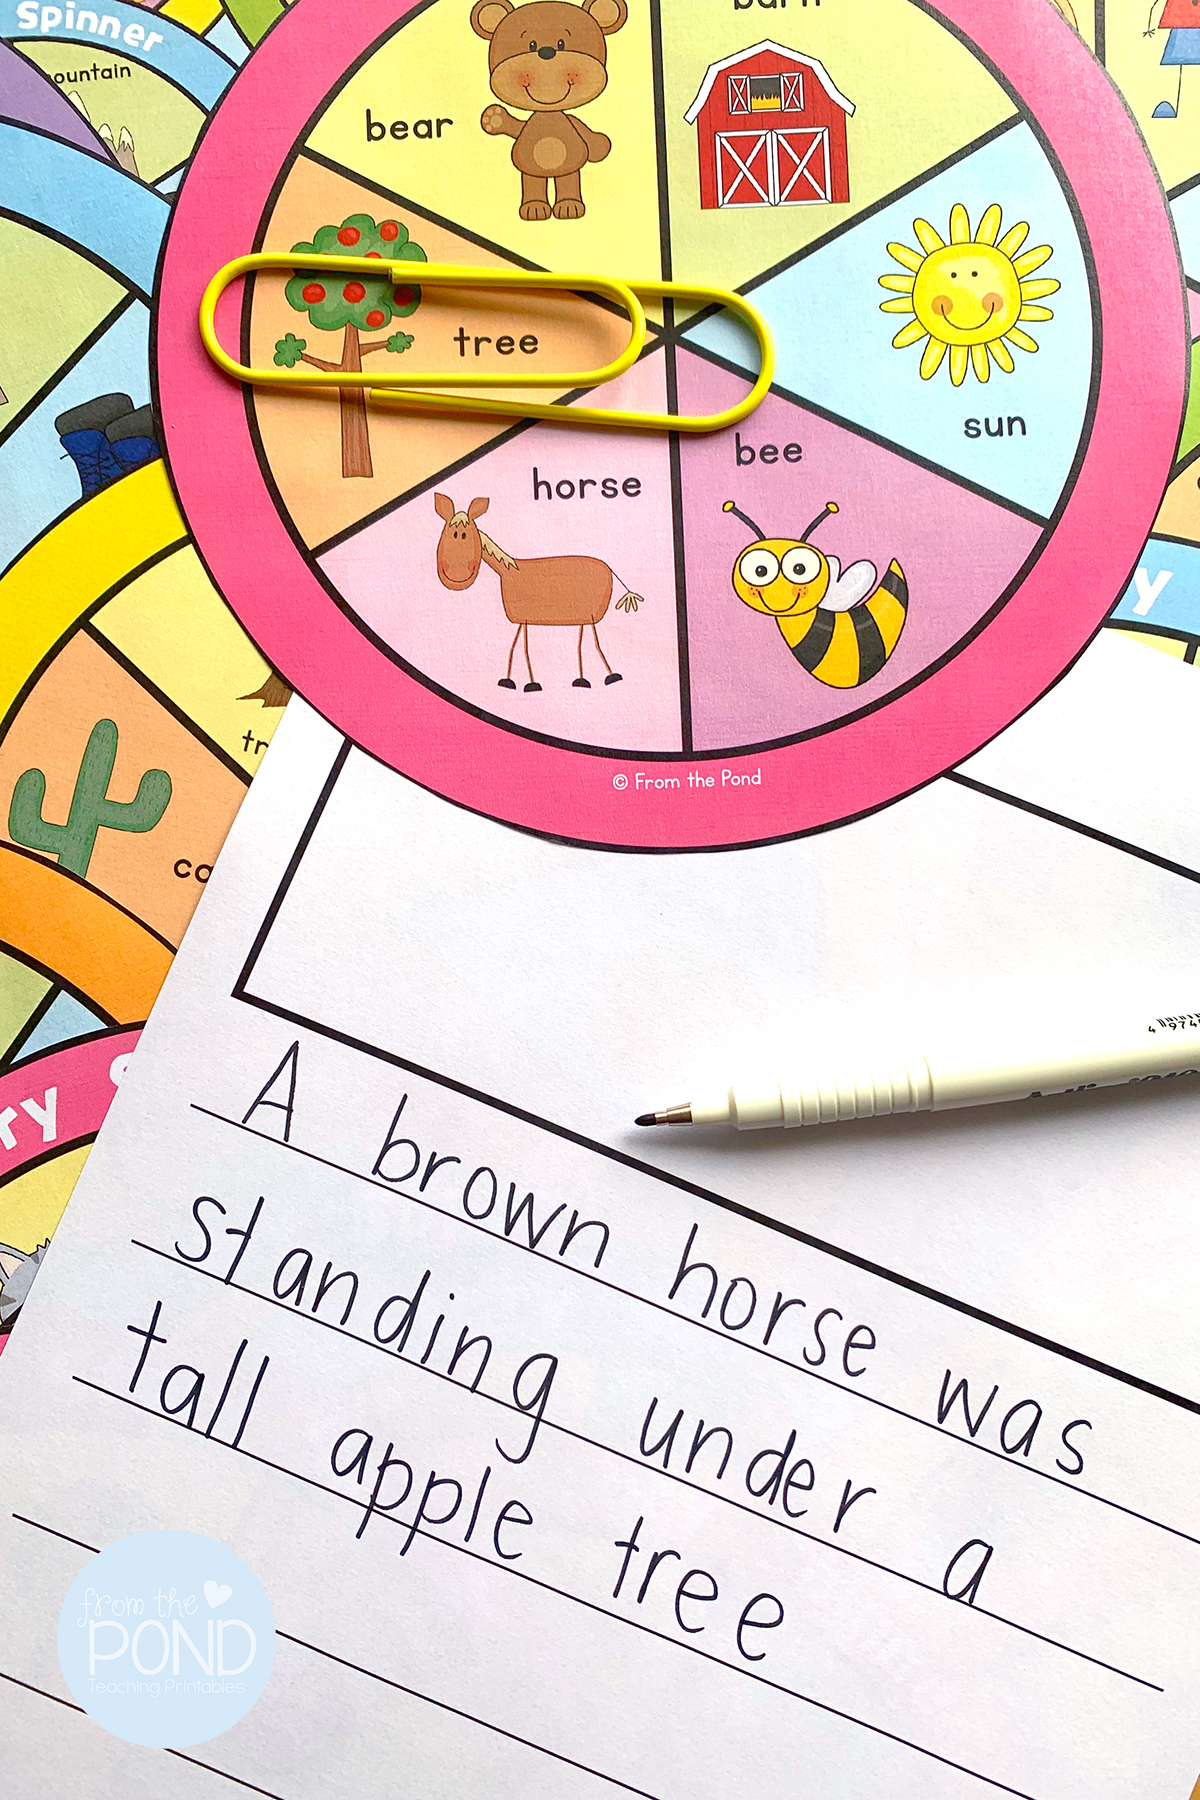
The story spinners can also be used with formal writing.
- scribe a class story
- students work in pairs to write a story - combining an oral and written story
- students use a spinner at their desk to assist independent writing
Find one free story spinner on our post from 2012 if you would like to try this activity with your class or small group.
And over in our store we now have a collection of 20 Story Spinners available.


